 Prana Bloom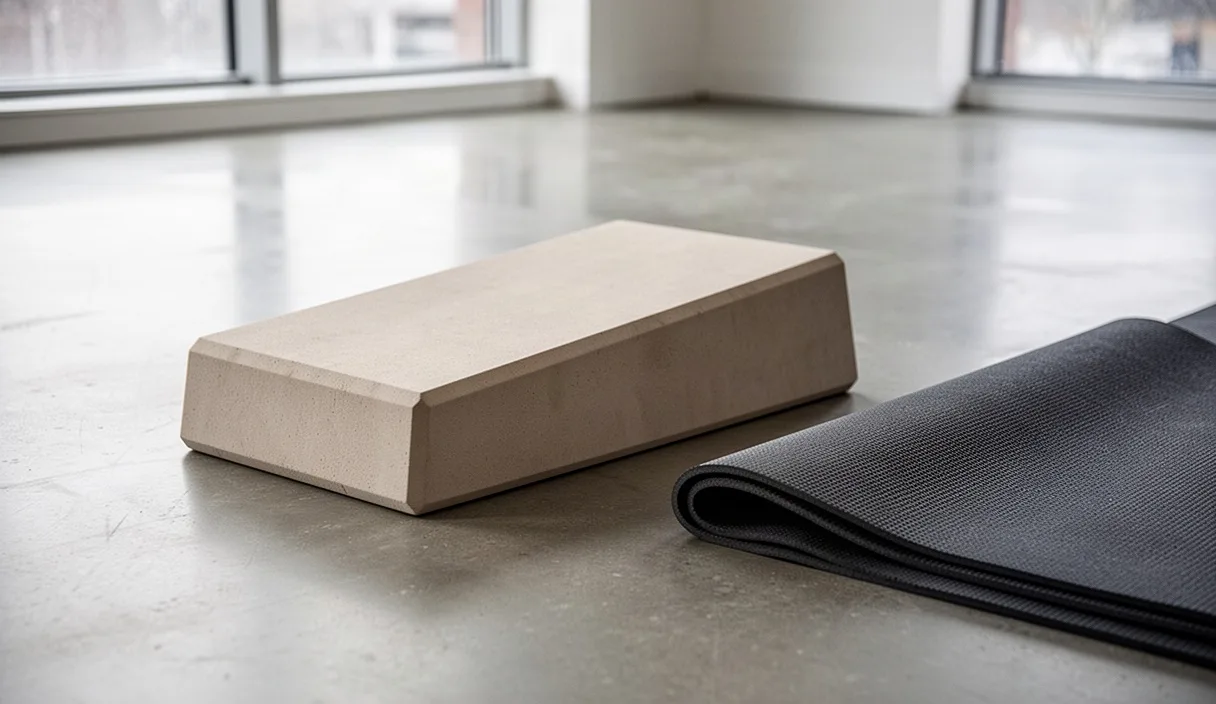

Plank pose places direct downward load on the upper extremities. When the hands rest flat on the floor, the wrist joint settles into an acute angle of ninety degrees. For many practitioners, this position creates a sharp compression along the dorsal side of the joint. The discomfort often appears within twenty to thirty seconds of holding the posture.
Pain during weight-bearing shapes how the nervous system reacts to movement. When the wrist pinches, the shoulders tense and the breath shortens. Adjusting the angle of the joint and changing how the hand meets the mat can resolve this mechanical strain. If pain persists across multiple sessions, a physical therapist or sports physician should evaluate the joint for underlying structural damage.
Anatomy of the wrist in ninety-degree extension
The wrist is not a single hinge. It contains eight carpal bones arranged in two transverse rows. These small bones articulate with the radius and the articular disc of the ulna. In a standard plank pose, the hand forms a right angle with the forearm. This degree of extension brings the scaphoid and lunate bones into firm contact with the posterior rim of the radius.
The dorsal wrist capsule compresses under this ninety-degree bend. At the same time, soft tissues on the palmar side experience high tensile stress. The carpal tunnel sits on the anterior surface of the wrist, bounded by carpal bones and the transverse carpal ligament. The median nerve and nine flexor tendons pass through this narrow space. Full extension under body weight narrows the canal volume and raises internal pressure.
| Structure | Mechanical Role in Plank | Source of Strain |
|---|---|---|
| Radiocarpal joint | Transfers load from the hand to the radius | Dorsal bone-on-bone impingement |
| Carpal tunnel | Passage for flexor tendons and median nerve | Compression from extreme tissue tension |
| Flexor retinaculum | Stabilizes carpal arch and tendon paths | Overstretching under unyielding body weight |
| Pisiform bone | Attachment point for muscles and ligaments | Direct pressure against a hard surface |
Individual skeletal architecture influences this threshold. Normal active wrist extension ranges between sixty and seventy-five degrees in relaxed movement. Forcing the joint to ninety degrees requires passive overpressure. In a plank pose, that overpressure comes from your own body mass. Without proper muscular engagement in the hand, the passive structures absorb the entire downward vector.
Distributing pressure through the fingertips
A passive hand allows the body weight to collapse into the heel of the palm. This concentrates the force directly over the carpal bones and the median nerve. Active engagement shifts the load forward into the metacarpals and the phalanges. This technique is often called the clawing action or hasta bandha in traditional systems.
The flexor digitorum profundus and superficialis muscles control this action. These long muscles sit in the anterior compartment of the forearm. When their tendons engage, they press the finger pads firmly into the mat. This muscular work lifts the center of the palm slightly away from the ground. The result is a subtle dome shape that reduces pressure on the carpal tunnel.
To establish this grip on the mat, follow these mechanical cues:
- Spread the fingers evenly, leaving roughly two centimeters between each fingertip.
- Align the crease of the wrist parallel to the front edge of the mat.
- Press the base knuckle of the index finger firmly into the rubber.
- Root down through the knuckle of the thumb to stop the hand from rolling outward.
- Press the pads of all ten fingers into the floor until the knuckles lift slightly.
This engagement turns the hand into an active shock absorber. The muscles of the forearm contract to hold the arch of the hand steady. Because muscular contraction demands energy, the forearm flexors may fatigue after fifteen to twenty seconds. Resting the knees on the floor lets you reset this grip before fatigue causes the palm to collapse back onto the heel.
Using a folded mat edge as an incline
Altering the angle of the wrist is the most reliable way to reduce dorsal joint pinching. When you place a small wedge or fold under the heel of the hand, the wrist joint opens. An angle change of even eight to twelve degrees provides relief to the dorsal radiocarpal space. It lowers the compression on the scaphoid bone immediately.
You can create this incline using your standard yoga mat. Roll or fold the top edge of the mat two or three times until it forms a ridge roughly one to two centimeters thick. Place the heels of your palms on this raised ledge. Let your fingers and the balls of your knuckles rest on the lower, single layer of the mat in front of you.
| Setup Style | Wrist Angle | Primary Benefit |
|---|---|---|
| Flat mat | 90 degrees | Standard baseline, requires high joint mobility |
| Folded mat ridge | 78 to 82 degrees | Reduces dorsal pinching, keeps hand flat |
| Foam wedge (15 degrees) | 75 degrees | Accommodates stiff joints, unloads carpal tunnel |
Commercial foam or cork wedges provide a uniform slope. A wedge maintains support under the entire surface of the palm while decreasing the joint angle to seventy-five degrees. This setup is particularly helpful for bodies with naturally shorter wrist ligaments. It preserves the straight line from the shoulder through the forearm while removing the extreme joint bend.
Pay attention to the position of the shoulders when using an incline. Raising the heel of the hand shifts your center of gravity back toward the heels by a fraction of an inch. Compensate by checking that the shoulders remain stacked vertically above the wrists. Do not allow the elbows to lock out in hyperextension while working on an incline.
Dolphin plank as an alternative
Dolphin plank bypasses the wrist joint entirely. The posture places the forearms directly on the mat, transferring the load to the ulna, radius and shoulders. It trains the abdominal wall and the serratus anterior muscles without bending the wrists. This modification serves well during flare-ups of acute wrist inflammation or tendonitis.
To enter dolphin plank with clean alignment, follow these specific actions:
- Lower your knees to the mat and place your forearms down at shoulder width.
- Check the distance by holding opposite upper arms with your hands.
- Release the hands and lay the forearms parallel to one another.
- Turn the palms flat down, or interlace the fingers if your shoulders are tight.
- Step the feet back one at a time until your torso and legs form a continuous line.
- Press the forearms down to lift the space between your shoulder blades.
The mechanical demands of dolphin plank shift to the glenohumeral joint and the upper back. The serratus anterior must work harder to keep the scapulae flat against the rib cage. If the shoulders lack mobility, the chest tends to sag toward the floor. Keep the neck neutral by gazing at the floor between your thumbs.
Dolphin plank is not an inferior variation. It demands the same pelvic stabilization and quadriceps engagement as a high plank. Holding a dolphin plank for forty-five seconds generates equal or greater core activation compared to a straight-arm plank. It remains a primary training tool whenever the hands need complete rest from load.
Post-practice wrist releases
After weight-bearing, the wrist flexors and extensors need passive and active decompression. Tight forearm muscles pull on their tendons, keeping the wrist bones compressed even after you leave the mat. A short sequence of gentle releases helps restore normal blood flow and tissue length. Perform these seated with an upright spine.
Passive flexion counter-stretch
Extend the right arm forward at shoulder height with the elbow straight. Turn the palm toward your body so the fingers point down. Place the left hand across the back of the right hand. Gently draw the right hand toward your body until you feel a stretch along the top of the forearm and the back of the wrist. Hold this position for twenty to thirty seconds while breathing evenly. Repeat the stretch on the left side.
Finger extension stretch
Extend the right arm forward with the palm facing away from you, fingers pointing up. Place the left hand across the pads of all four right fingers. Draw the fingers gently back toward your forearm. Keep the right elbow straight without locking the joint. You will feel a stretch through the palmar side of the hand and the anterior wrist. Maintain this gentle tension for twenty seconds, then switch sides.
Closed-fist circles
Bring both hands into loose fists with the thumbs tucked over the outer fingers. Extend the arms halfway in front of you. Slowly rotate the fists in circles, moving only through the wrist joints. Complete ten circles inward, then ten circles outward. Move slowly enough that each rotation takes three full seconds to complete. This encourages the flow of synovial fluid through the carpal articulations.
Common mistakes
Practitioners often make small technical errors that increase wrist pressure. Correcting these mechanical habits protects the joint tissue over time.
- Flaring the elbows outward: This action internally rotates the upper arms. It dumps weight into the scaphoid bone and collapses the inner hand.
- Hollowing the knuckles: When the knuckles lift and the palm rests flat, the finger muscles stop working. The wrist absorbs the whole force.
- Placing hands too far forward: When the wrists sit ahead of the shoulders, the extension angle sharpens past ninety degrees.
- Holding breath during strain: Holding the breath increases systemic tension. This causes the practitioner to grip through the wrong joint structures.
- Ignoring sharp pinches: Muscle burning is normal fatigue. Sharp, localized bone pain in the wrist is a mechanical warning that requires an immediate change of stance.
Practical next steps
Begin your next practice by assessing your baseline mobility. Sit on the floor, place your hands together in front of your chest, and lower your hands until your forearms form a straight line. If your wrists begin to lift away from each other before reaching ninety degrees, your joints lack passive extension. Respect that boundary on the mat.
Implement the folded mat technique for the next four weeks. Do not attempt a standard flat-hand plank until your forearm grip strength develops. Spend three minutes before each practice warming up the fingers and forearms with active spreading and gripping drills. Gradually reintroduce flat-surface planks for short intervals of ten seconds, using finger pad pressure to protect the joint.
Monitor your wrists outside of practice. Discomfort that persists into the next day indicates tissue irritation rather than simple muscle adaptation. If you experience numbness, tingling in the fingers, or swelling along the base of the thumb, rest the wrists entirely. Seek guidance from a licensed health professional to check for tendonitis, carpal tunnel syndrome, or ligament tears before continuing weight-bearing postures.