 Prana Bloom

Downward-Facing Dog is an inversion and a resting posture. For tight legs, the shape feels like an arm balance. The floor feels far away. The wrists carry weight that belongs in the feet. The breath becomes tight in the chest.
Tension in the legs alters the entire skeleton. The hamstring muscles originate at the base of the pelvis. When these tissues lack give, they pull the pelvis backward. The lower back rounds. The posture collapses forward into the hands. Alignment returns when you adapt the form to your body.
Common mistakes with short hamstrings
The most frequent error is forcing the heels toward the mat. Practitioners often believe the heels must touch the rubber. To make this happen, the pelvis tucks under. The tailbone drops toward the floor. The spine forms an arch like a cat stretch. The benefits of an elongated spine disappear.
Another error is walking the feet forward to bridge the distance. A short distance between hands and feet makes the heels reach the ground easily. This adjustment harms the mechanics of the pose. The angle at the hips becomes too acute. The chest drops past the shoulders. The wrists take excessive downward pressure.
Many students lock their knee joints. Pressing the knee joints backward stretches the joint capsule. It does not stretch the belly of the hamstring muscle. The body hangs on the ligaments. Over time, hyperextension irritates the back of the knee.
| Compensatory Pattern | Anatomical Consequence | Correct Action |
|---|---|---|
| Straightening legs with tight legs | Posterior pelvic tilt and lumbar flexion | Bend knees three to five inches |
| Walking feet close to hands | Weight shifts forward into wrists | Maintain a full plank length |
| Locking the knee joints | Tension on the posterior knee capsule | Maintain a micro-bend in the knees |
| Forcing heels to the mat | Flattened lumbar curve and neck strain | Keep heels lifted off the floor |
Watch the shape of your lower back in a mirror. A rounded lumbar spine shows that the hamstrings are pulling the pelvis out of neutral alignment. The weight shifts forward toward the shoulders. The arms work twice as hard to keep the torso in space.
Setting the base through the hands
The hands create the foundation for the entire pose. Place the palms on the mat at shoulder distance. Spread the fingers evenly. Keep the spaces between the fingers equal. The middle or index fingers point directly forward.
Press down into the base of the index finger. The inner edge of the hand tends to lift when tension runs through the back body. Ground the mound of the thumb. Ground the mound of the pinky finger. Ground the inner and outer heel of the palm.
Suction forms in the center of the palm when the perimeter is sealed. Claw the mat lightly with the tips of the fingers. This action engages the deep flexor muscles of the forearm. The carpal tunnel receives less pressure. The bones of the wrist joint maintain space.
- Place the hands shoulder-width apart or slightly wider.
- Turn the hand slightly outward if the shoulders are tight.
- Distribute weight across all ten knuckles.
- Avoid letting the outer edges of the hands bear all the load.
- Keep the creases of the wrists parallel to the front of the mat.
Push the floor away through the arms. Do not sink into the wrist joints. Imagine the arms growing longer out of the shoulder sockets. This grounding action sends energy up the arms and into the pelvis.
Bending the knees to free the pelvis
Hamstrings cross two joints. They cross the hip joint and the knee joint. When you bend the knees, you release tension at the lower attachment of the muscle. This release gives the pelvis permission to move.
Bend both knees generously. A bend of four to six inches is common. Lift your heels high off the mat. Balance on the balls of the feet. Notice how the lower back responds immediately.
Tilt the pelvis forward into an anterior tilt. Send the sitting bones toward the ceiling. The tailbone points up and back. The natural inward curve of the lower back reappears. The spine becomes a straight line from the wrists to the hips.
Maintain this anterior tilt of the pelvis. Keep the knees bent as long as needed. The shape of the spine is the primary objective of this posture. Straight legs are secondary. Straight legs with a rounded back defeat the purpose of the pose.
Draw the lower ribs gently inward. Do not let the belly sag toward the floor. An anterior tilt of the pelvis does not mean collapsing the spine. Support the lower back by engaging the transverse abdominal wall. The spine remains neutral, long, and supported.
Shoulder rotation and neck release
Tight hamstrings often lead to tight shoulders. When the pelvis cannot move back, the upper body compensates. The shoulder blades squeeze together toward the spine. The neck locks up to hold the head in place.
Rotate the upper arms externally. Turn the biceps toward the front of the room. Roll the triceps toward the floor behind you. This rotation creates broadness across the upper back. The shoulder blades slide away from the ears and spread wide across the ribcage.
Do not pull the shoulder blades down the back aggressively. Allow them to rotate upward naturally as the arms extend overhead. The serratus anterior muscle supports this upward rotation. The armpits feel hollow and broad.
Release the neck completely. Let the skull hang heavy from the cervical spine. Do not look forward at the hands. Do not tuck the chin tight against the chest. The gaze rests between the ankles or toward the knees.
Shake the head slowly side to side. Nod the head gently forward and back. If the neck feels tense, the shoulders are likely too close to the ears. Push the floor away again. Move the armpits away from the wrists. Let gravity traction the neck.
Five adjustments to test on the mat
Bodies require different approaches to the same shape. Experiment with these physical modifications during practice. Use props to support the skeleton while tissues adapt over time.
Placing blocks under the hands
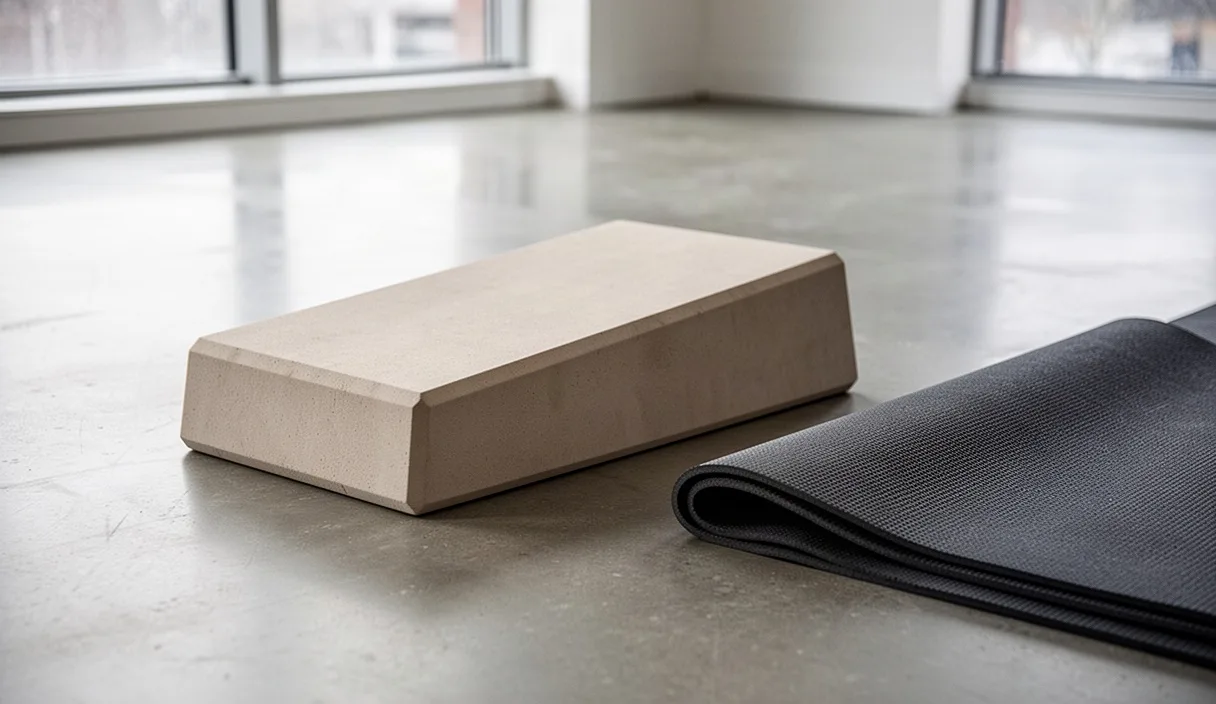
Set two stable blocks at the front of your mat on their lowest or middle height. Place your hands flat on the top surfaces of the blocks. Wrap your thumbs and fingers around the edges for stability.
This elevation raises the floor by three to four inches. The angle between the torso and the legs becomes less acute. The hamstrings experience less stretch at the pelvis. You can tilt the pelvis upward with greater ease. The wrists bear less body weight.
Widening the foot stance
The standard foot placement is hip-width apart. For tight hamstrings, walk the feet outward to the edges of the mat. Turn the toes forward or slightly outward.
A wider stance alters the line of pull on the hamstring tendons. It provides more room for the pelvis to tilt forward between the femurs. The lower back finds length with less effort. Keep the knees soft as you explore this wider base.
Supporting the heels with a rolled blanket
Place a tightly rolled wool blanket across the middle of your mat. Place the balls of your feet on the floor in front of the roll. Rest your heels on the blanket.
Many practitioners strain because their heels hover in open air without support. The calves and hamstrings work to stabilize the joint. Resting the heels on a firm surface grounds the nervous system. The legs can relax into the shape without losing stability.
Shortening and widening the entire posture
Step the feet four inches closer to the hands than your normal plank length. At the same time, place the hands and feet slightly wider than usual.
This boxier variation decreases the lever length of the body. It lowers the demand on both the shoulder girdle and the posterior leg chain. It serves as an accessible transition shape between active poses. Maintain bent knees to keep the spine straight.
Wall push variation
Stand two feet away from a wall. Place your hands on the wall at hip height. Walk your feet backward until your torso is parallel to the floor.
Your body forms a right angle. The hands push into the wall while the hips pull back into the room. Bend the knees generously. This variation removes wrist strain entirely. It teaches the tilt of the pelvis without the burden of bearing full body weight.
Next steps on the mat
Hamstring tissue adapts slowly. Muscle bellies change length with consistent input over months, not days. Tendons adapt even more slowly than muscle tissue. Rushing the process leads to strain at the ischial tuberosity.
Practice with bent knees for several weeks. Observe the sensation in your lower back. The spine should feel uncompressed. The breath should move down into the abdomen without restriction.
Test the length gradually. Straighten the legs by half an inch only after the pelvis is fully tilted forward. If the lower back begins to round, bend the knees again immediately. Prioritize spinal length over leg straightness in every practice session.
Persistent pain at the sitting bones or numbness down the leg is not normal hamstring tension. These symptoms indicate nerve irritation or tendon distress. If sharp pain appears, stop the posture. Consult a physical therapist or an orthopedic physician for a clinical evaluation.