 Prana Bloom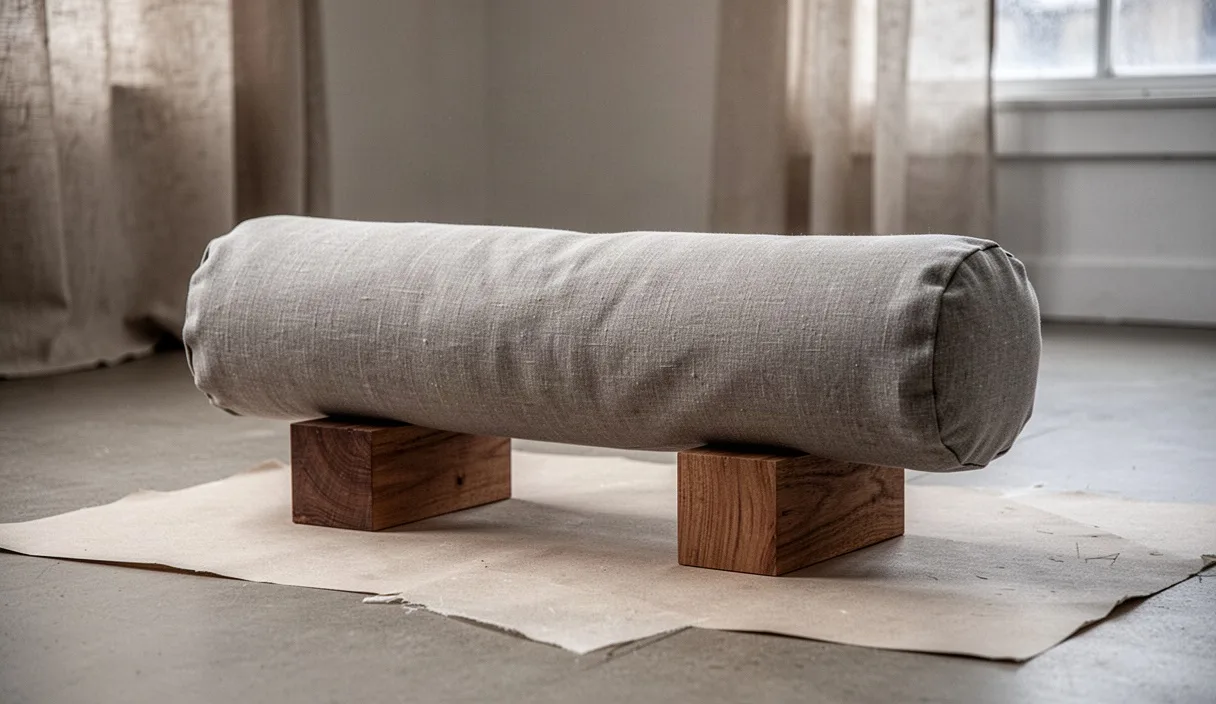

A supported backbend changes how the rib cage meets gravity. The floor holds the weight of the spine, while firm cotton and foam shape the arch. Muscular effort drops away as the props take on the work of structural support.
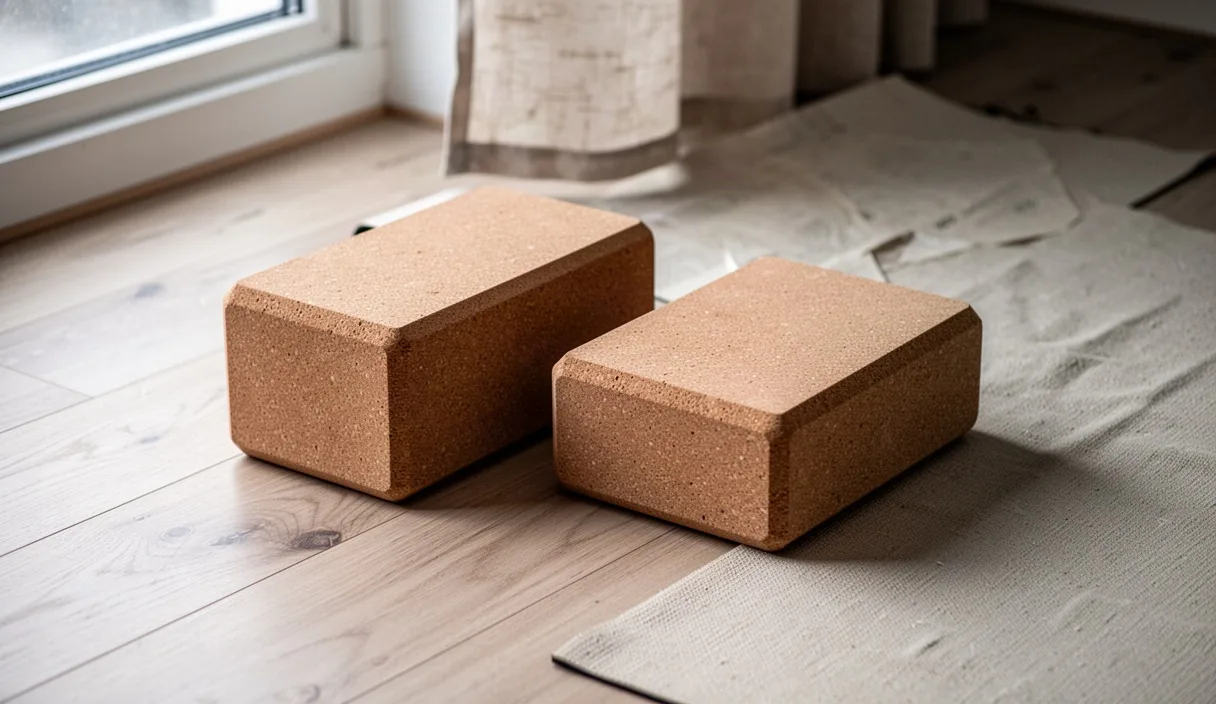
This practice relies on standard studio props. You need one standard rectangular yoga bolster, two standard foam or cork blocks, and two to three woven blankets. A quiet room with a firm floor provides the best base for this setup.
Difference between active and passive backbends
Active backbends depend on muscular contraction. The back muscles shorten to lift the chest away from the earth. The gluteal muscles, hamstrings, and spinal extensors stay engaged throughout the pose. The breath tends to quicken under this load. The heart rate rises as the body works against gravity.
Passive backbends shift the workload to dense props. The skeleton rests on fabric, wood, or dense foam. The extensor muscles along the spine release their grip over several minutes. The abdominal wall stays soft, which allows the diaphragm to descend fully on each inhale. The heart rate slows down as the nervous system responds to the stable surface beneath the spine.
The goals of the two approaches differ. Active backbends build endurance in the posterior chain. They demand vigilance, joint stabilization, and rapid micro-adjustments. Passive backbends address the stiffness in the connective tissues of the chest, intercostal spaces, and front shoulders. They allow tissues to adapt through steady, low-load tension held over time.
| Feature | Active Backbends | Passive Backbends |
|---|---|---|
| Muscular state | Contracted and working | Softened and resting |
| Primary support | Internal muscular effort | External props |
| Hold time | Twenty to sixty seconds | Three to fifteen minutes |
| Breathing pattern | Shallow, thoracic emphasis | Slow, diaphragmatic pace |
| Tissue focus | Muscle strength and control | Fascial glide and joint ease |
People with spinal conditions should approach both styles with care. Anyone with spinal stenosis, spondylolisthesis, or active disc herniations should consult an orthopedic specialist or physical therapist before attempting extended spinal extension. Props reduce strain, but extension remains extension.
The ramp setup with two blocks and a bolster
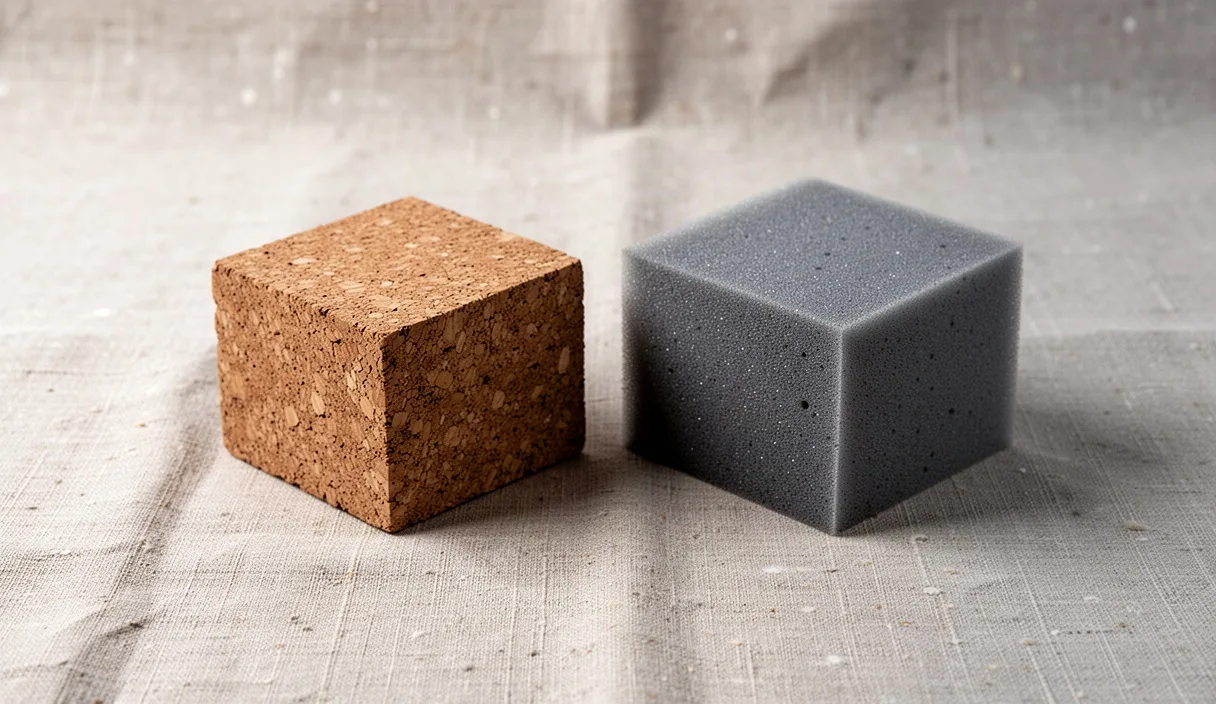
A ramp configuration creates an incline that supports the spine from the pelvis to the skull. You need two blocks measuring 4 inches by 6 inches by 9 inches. Foam blocks feel softer under weight, but dense cork blocks offer superior stability. Place your yoga mat on a level, uncarpeted floor to prevent the blocks from wobbling.
Position the first block near the middle of your mat. Turn this block to its medium height, which stands 6 inches tall. Place the second block 12 inches behind the first block, closer to the back edge of the mat. Turn the second block to its tallest height, which stands 9 inches tall. Align both blocks so their long faces run perpendicular to the long edge of the mat.
Take a standard rectangular bolster measuring roughly 24 inches long and 10 inches wide. Place one end of the bolster on the tall block. Lay the middle of the bolster across the medium block. The lower end of the bolster rests directly on the yoga mat. The result is a smooth, continuous diagonal slope that rises toward the back of your mat.
- Place block one on its 6-inch side across the mat center.
- Place block two on its 9-inch side about one foot further back.
- Lay the bolster over both blocks so the high end sits on the tallest block.
- Check the lower edge of the bolster to ensure it touches the floor firmly.
- Press down on the bolster with both hands to test for balance and stability.
If the bolster sags between the two blocks, slide the medium block closer to the high block. The bolster needs firm contact with both supports. A buckwheat bolster stays firm and holds its shape under heavy pressure. A cotton batting bolster yields more, which creates a softer contour for the rib cage.
Adjusting distance between bolster and lower back
The gap between your pelvis and the bottom of the bolster dictates the curvature of your lower spine. Sitting directly against the bolster produces an intense arch in the lumbar region. Leaving space allows the pelvis to tilt back, which flattens and protects the lower spine.
Begin by sitting on the floor in front of the lower edge of the ramp. Do not sit on the bolster itself. Keep your sit bones flat on the mat. For most bodies, a distance of 2 to 4 inches between the tailbone and the bolster provides neutral lumbar support. This distance allows the sacrum to rest evenly on the floor before the spine meets the slope.
If you experience any pinching in the lower back, move your hips further forward. Slide your pelvis 1 or 2 inches further away from the bolster. Recline backward slowly, using your hands to guide your descent. The base of your ribs should catch the lower third of the bolster. Your lower back will feel long rather than compressed.
People with tight hip flexors often feel tension when their legs lie flat. If your lower back arches off the floor uncomfortably, bend your knees and place the soles of your feet flat on the mat. Place your feet as wide as the mat and let your knees knock together gently. This position releases the psoas muscle and stabilizes the pelvis.
Supporting the arms with folded blankets
When the chest lifts on the bolster, the arms naturally hang toward the floor. If the pectorals are tight, the shoulders pull toward the ears. Gravity pulls the elbows downward, which can strain the anterior shoulder capsule. Arm supports prevent this joint strain and allow the upper chest to soften completely.
Use two standard wool or cotton studio blankets. Fold each blanket into a long, neat rectangle roughly 8 inches wide and 24 inches long. Place one blanket along the right side of the bolster, parallel to your torso. Place the second blanket along the left side. The top edge of each blanket should line up with the height of your shoulders.
Lie back onto your bolster and rest your upper arms, elbows, and forearms on the folded blankets. Your hands can rest palm up on the fabric. The height of the blankets should match the height of your mid-ribs. When the support height is correct, the shoulders drop back without pulling or tingling in the inner arms or fingertips.
- Tingling in the fingers indicates excessive tension in the brachial plexus nerves.
- Thicker blanket folds reduce the angle of shoulder extension.
- Turning the palms up promotes external rotation in the humerus.
- Resting the hands on the low belly offers a softer option for shoulder injuries.
Make sure the blankets support the elbows completely. If an elbow hangs off the edge of the blanket into empty space, the triceps tendon remains under mild tension. Re-fold the blankets to add width if your arms feel cramped or slide off during longer rests.
Duration guidelines for passive openings
Tissue adaptation in passive shapes takes time. The first minute of a supported backbend involves nervous system settling. The body identifies the surfaces underneath it and checks for safety. Muscular guarding drops between the second and third minutes. Fascial planes begin to adapt under steady weight after several minutes of quiet resting.
Beginners should remain in the setup for 3 to 5 minutes. This duration gives the intercostal muscles time to accept the stretch without overloading the lumbar spine. Set an audible, gentle timer across the room so you do not track time on a screen. Breathe through the nose with a steady, unforced cadence.
Experienced practitioners often stay in the shape for 8 to 12 minutes. Beyond 12 minutes, the nervous system can become restless, or compression can slowly develop in the sacroiliac area. If any sharp sensation, heat, or numbness arises, exit the shape immediately. Passive stretching should feel neutral, dull, and steady, never sharp or burning.
| Experience Level | Target Duration | Primary Focus |
|---|---|---|
| Beginner | 3 to 5 minutes | Breath awareness and pelvic positioning |
| Intermediate | 6 to 8 minutes | Chest opening and shoulder relaxation |
| Experienced | 9 to 12 minutes | Deep fascial release and nervous system rest |
Your body temperature drops as you remain still in restorative poses. Keep a spare blanket nearby before you lie down. Drape this third blanket over your pelvis, chest, and feet. Warm muscles relax faster than cold ones, and the added weight of a blanket provides a grounding tactile cue.
Common mistakes
The most common error is letting the head hang off the top of the bolster. The cervical spine needs equal support to the rest of the column. If your chin tilts up toward the ceiling, your neck is in hyperextension. Place a single folded hand towel or thin blanket under your head to bring your chin level with your forehead.
Another frequent mistake is using blocks on a slippery surface. On a wood or tile floor without a mat, the rear block can slide backward when you lean your weight onto the bolster. This slippage drops the bolster abruptly. Always build your prop structure directly on a non-slip rubber yoga mat.
People also tend to jump out of the pose too fast. The spine has rested in extension for several minutes, so the surrounding tissues are soft and pliable. Moving fast can cause defensive muscle spasms. Transition out with small, deliberate movements.
Practical next steps
Gather your equipment and assemble the ramp on your mat. Test the height of the blocks with your bolster before settling in for a full session. Lie back for twenty seconds simply to test the distance between your sacrum and the bolster edge. Adjust the gap until your lower back feels open and broad.
To exit the pose safely, bend your knees and place your feet flat on the floor. Press your feet down and roll slowly onto your right side, rolling off the bolster onto the floor. Rest on your side in a fetal position for four to six natural breaths. Use your top hand to press the floor away, letting your head come up last as you return to an upright seat.
Sit quietly on a single folded blanket for one minute after exiting the pose. Notice the expansion in the chest and the posture of your ribs over your hips. Practice this supported sequence two or three times each week to maintain mobility across the rib cage and thoracic spine. If you have chronic neck or back conditions, review these setups with your physical therapist to tailor the angles to your skeletal needs.