 Prana Bloom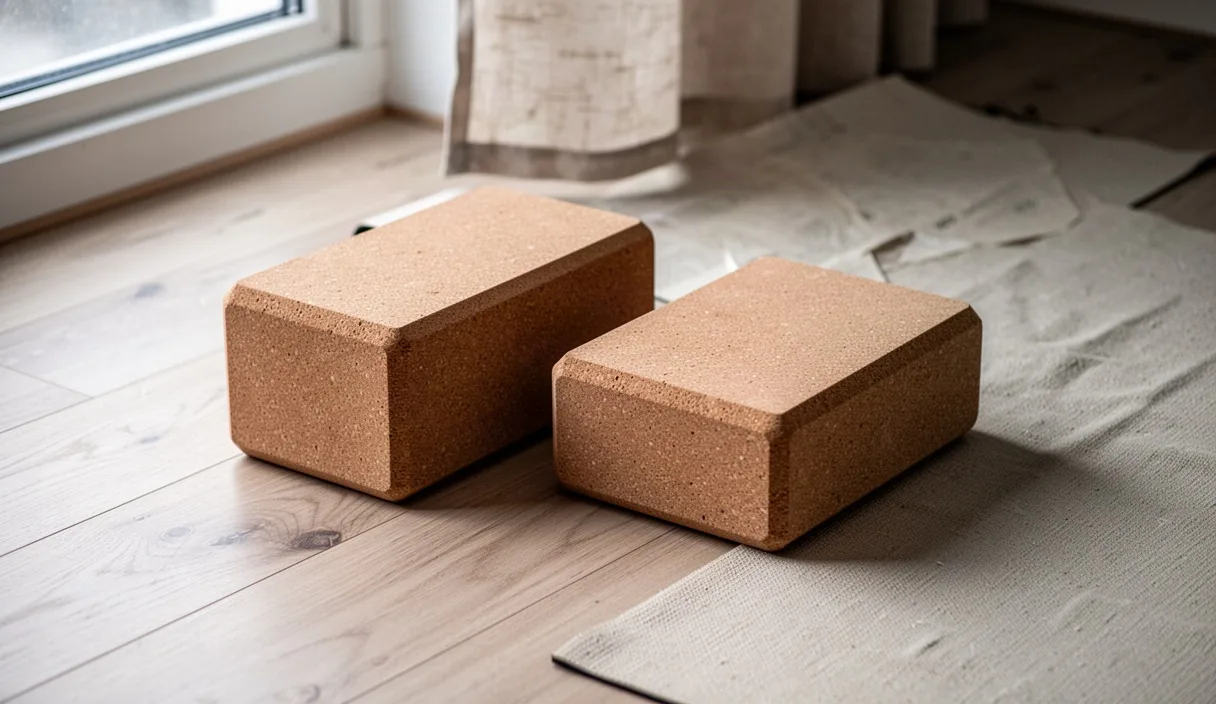
A low lunge places the pelvis near the floor while one hip extends behind you. The front hip flexes deeply. Many practitioners meet the floor with their fingertips or flat palms. This choice often rounds the upper spine and drops the chest toward the front thigh.
Yoga blocks change the distance between the floor and the torso. They offer support beneath the hands so the spine can remain long. You breathe with less effort when the ribs have room to expand. A simple shift in block height alters how the pelvis settles into the pose.
Why low lunges feel crowded
The femur of the front leg forms an acute angle with the pelvis in a low lunge. The front thigh presses directly against the lower abdomen. When your hands rest on the mat, your arms must bridge the entire distance to the floor. If your torso is longer than your arms, your spine must curve forward to compensate.
This curve drops your shoulder girdle toward your ears. The collarbones narrow. The diaphragm experiences compression from the front thigh and the rounded posture. Airflow feels restricted at the top of each inhale. You work harder simply to hold the shape.
Skeletal proportions vary from person to person. A person with long legs and a short torso experiences this pose differently than a person with a long torso and short arms. Blocks account for these anatomical variations. They extend the reach of your arms by several inches.
When the floor rises to meet your palms, your chest lifts away from the front quad. The abdomen regains its natural space. The front hip joint receives less direct compression. You can focus on the sensation in the hip flexors rather than the strain in your neck.
The three heights of standard blocks
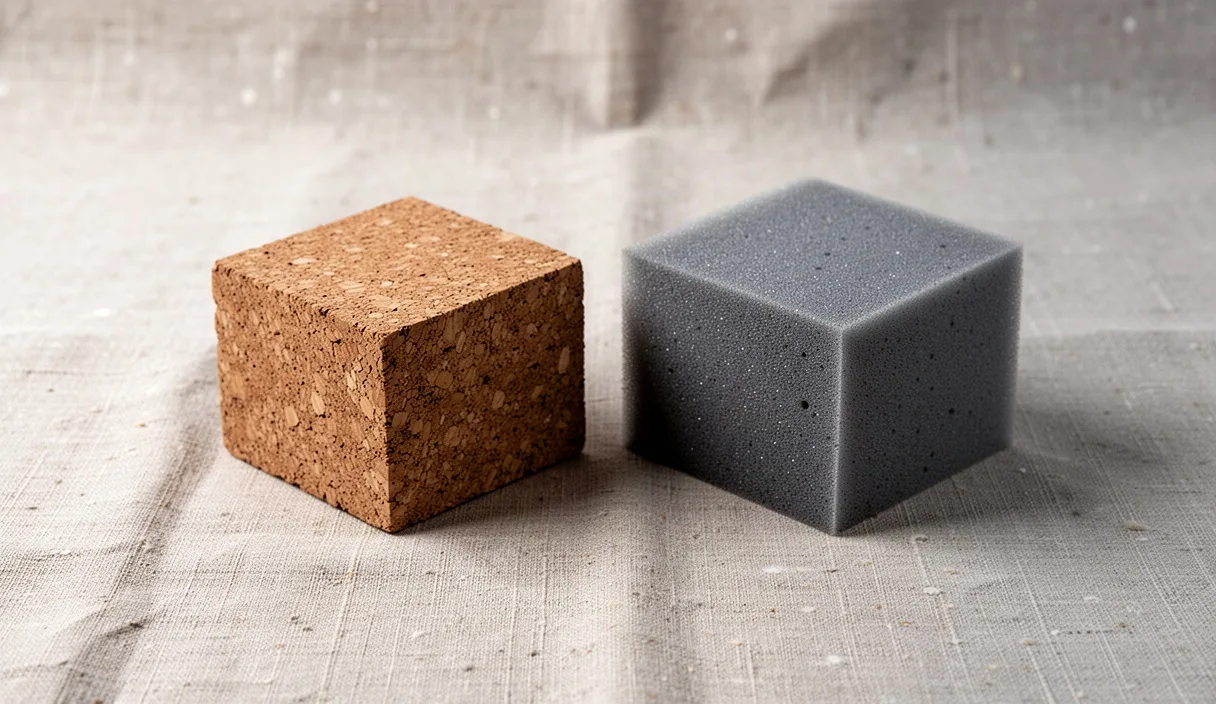
Standard yoga blocks measure four inches by six inches by nine inches. Foam blocks provide give under sensitive palms. Cork and wood blocks offer firm stability under body weight. Each block provides three distinct heights depending on which face rests on the mat.
The lowest setting places the broadest surface on the mat. The hands sit two to four inches above the floor. This setting suits practitioners who need only minimal space between the torso and the thigh. It offers the widest, most stable base of support.
The medium setting balances the block on its long, narrow edge. The top surface rises roughly six inches off the mat. This height suits the majority of bodies during a sustained hold. It allows the collarbones to broaden without pulling the hips out of their descent.
The tall setting stands the block on its smallest end. The hands rest nine inches above the mat. This setting provides the most vertical space for the ribcage. It creates the least stable base, so your weight must press straight down through the center of the block.
| Setting | Approximate Height | Base Width | Primary Use |
|---|---|---|---|
| Low | 3 to 4 inches | 6 inches | Mild lift, high stability, wide palm placement |
| Medium | 6 inches | 4 inches | Balanced lift, moderate stability, neutral chest |
| Tall | 9 inches | 4 inches | Maximum clearance, upright spine, deeper hip opening |
Choose your block height based on how your breath moves. If the breath feels shallow, test the next higher surface. You do not need to keep both blocks on the same setting if your shoulders require an asymmetrical setup.
Hand position relative to the front foot
The placement of blocks around your front foot influences your spinal balance. Most practitioners frame the front foot with one block on each side. The line of the blocks can sit forward, center, or back relative to the ankle joint.
Placing the blocks in line with the front heel encourages an upright torso. The shoulders stack directly above the wrists. This placement transfers weight downward through the bones of the arms. It unloads the hip flexor slightly while keeping the spine tall.
Placing the blocks four inches ahead of the front toes creates a forward lean. The torso stays long on a diagonal plane. This forward angle works well for practitioners who want to keep pressure out of the lumbar spine. It asks the front quad and glute to support more of your body weight.
Block width also matters for chest comfort. If the blocks sit too close to the foot, your upper arms pinch against your front knee. Move each block two inches wider than the mat edge if your shoulders feel narrow. The fingers wrap softly over the sides or press flat against the top face.
- Heel alignment: Stack wrists under shoulders to build a vertical support column.
- Forward alignment: Set blocks four inches ahead of the toes to distribute weight into the front heel.
- Wide alignment: Set blocks outside the mat boundaries to open broad space across the chest.
- Underneath alignment: Rest palms flat on the center of the block rather than gripping the edges with tension.
Stabilizing the back knee with folded blankets
The rear leg bears significant weight through the knee joint in a low lunge. Hard studio floors or thin mats compress the patella against the floorboard. This pressure triggers defensive muscle tension in the quadriceps. The tension prevents the hip flexor from softening.
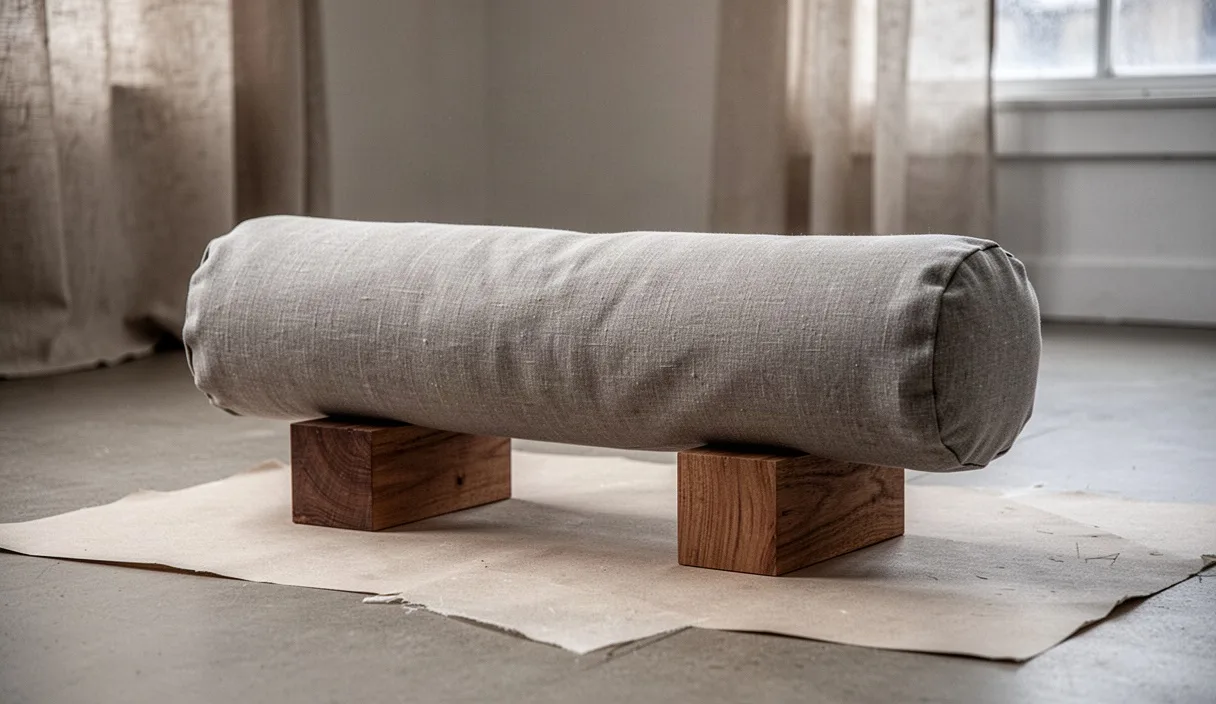
A dense, woven blanket provides better support than a soft, plush blanket. Soft blankets squish completely flat under the knee cap. A firm wool or cotton blanket keeps its thickness under pressure. It absorbs the impact of the bone against the floor.
Fold the blanket into a smooth rectangle with no wrinkles. Place the blanket across the middle of your mat. The knee rests on the blanket so the kneecap floats slightly off the front edge of the fold. This position directs the pressure onto the top of the shin rather than the patella itself.
You can adjust the height of the fold to meet your joints. A fold of one inch works for most knees. If you feel pressure in the joint, fold the blanket twice to create two inches of cushion. Keep the back toes tucked or untucked depending on how your ankle feels.
Transitioning into and out of the shape
Moving between poses with blocks requires deliberate placement before you shift weight. Set the blocks on your chosen height before you step your foot forward. Reaching for blocks while balancing on one knee destabilizes the pelvis.
Begin on hands and knees with your blocks set shoulder-width apart at the top of the mat. Rest your hands directly on the blocks. Slide your right foot forward between the blocks until your right ankle sits directly under your right knee. The back knee stays planted on your blanket.
Lower your pelvis forward and down until you find mild sensation in the front of the left hip. Keep your weight resting through the center of each palm. The elbows remain soft rather than locked. Breathe smoothly through the nose for five to eight breath cycles.
To exit, press down through your hands and shift your hips back toward the rear heel. Straighten the front leg halfway to release the angle in the front hip. Walk the blocks back two inches to match the backward movement of your torso. Step the front knee back to meet the rear knee on the blanket.
- Place two blocks at the top of the mat on their medium or tall setting.
- Start in a tabletop position with hands resting evenly on the blocks.
- Step the right foot forward between the blocks until the ankle settles below the knee.
- Allow the hips to travel forward until you feel a gentle stretch in the left hip flexor.
- Keep the collarbones wide and the crown of the head reaching upward.
- Press the palms down to push the hips back toward a half-split position to release the pose.
- Return the right knee to the blanket and repeat the sequence on the opposite side.
Common mistakes
Practitioners often lock their elbow joints while leaning into the blocks. Hyperextending the arms sends excess force into the wrist joints. A micro-bend in the elbows activates the triceps and stabilizes the shoulder blades.
Another frequent issue is setting the blocks on an uneven angle. A tilted block can slip under body weight. The entire bottom surface of the block must make contact with the mat. Check that your blocks stand plumb before leaning your weight down.
Do not hold all your body weight in the hands. The blocks are balance points, not crutches. Your feet and your back shin must stay active against the floor. Press down through the front heel to engage the legs.
Practical next steps
Place two blocks and a blanket near your mat before your next practice session. Spend two minutes testing each of the three block heights on one side. Notice how your breathing changes as the height of the blocks increases. Choose the setting that keeps your neck soft and your breath quiet.
If you experience sharp pain in the front hip or the back knee, stop the movement. Persistent joint pain requires an assessment from a physical therapist or qualified medical professional. Props exist to adapt postures to your current anatomy. Let the tools carry the floor to your hands.