 Prana Bloom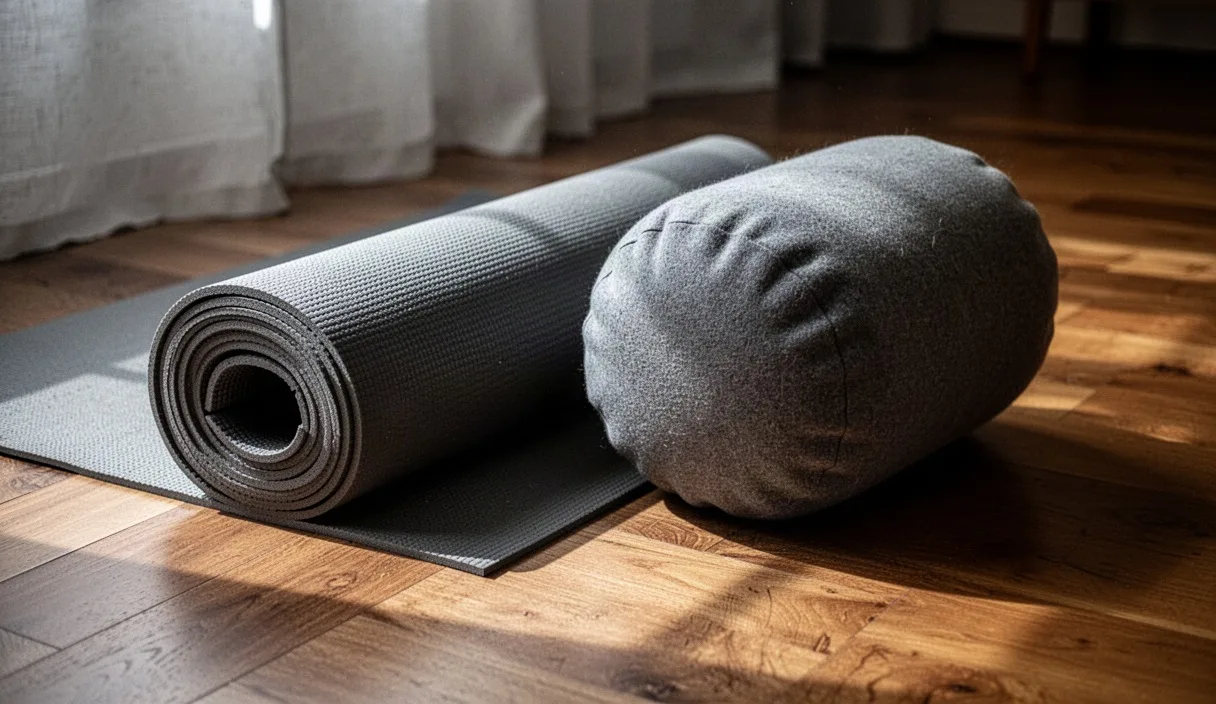

Morning tissue holds the memory of sleep. Body temperature is lower upon waking. Synovial fluid in the hip joints remains thick. Fascia resists sudden traction. A quiet morning practice meets this state without force.
Yin yoga applies gentle, prolonged tension to connective tissues rather than muscles. The hips collect physical strain from sitting, walking, and stress. A sequence designed for the early hours relies on props to support the weight of the limbs. The practitioner leaves ambition off the mat.
Principles of cold morning movement
Connective tissue responds differently when the body is cold. Dynamic movement warms the muscles and shifts blood into skeletal fibers. Yin yoga works before the muscles engage fully. The mechanical stress transfers into tendons, ligaments, and deep fascial bands.
Time takes the place of effort. Each posture lasts between 3 and 5 minutes. The nervous system requires roughly 90 seconds to downregulate protective tone. Once the stretch reflex quietens, the plastic quality of fascia accepts gentle change.
Sensations in morning yin remain mild. The target intensity sits at 3 or 4 on a scale of 10. Sharp, pinching, or electrical sensations indicate nerve compression or joint impingement. A dull, diffuse ache across broad tissue indicates safe connective stress. If discomfort sharpens, move out of the posture.
| Factor | Warm dynamic movement | Cold morning yin |
|---|---|---|
| Primary target | Muscular fibers and cardiovascular system | Fascia, ligaments, joint capsules |
| Hold duration | 1 breath to 30 seconds | 3 to 5 minutes |
| Target depth | Active range of motion | First edge of passive resistance |
| Breath style | Heated, rhythmic, active | Natural, unforced nasal breathing |
Morning joints do not compress well under aggressive angles. The lumbar spine retains extra fluid in intervertebral discs after hours of recumbency. Props absorb body weight so the spine and pelvis stay neutral.
Supported butterfly posture setup
Supported butterfly targets the adductor group and the thoracolumbar fascia. It invites passive external rotation into the femur heads. The back rounds gently without pulling from the shoulders.
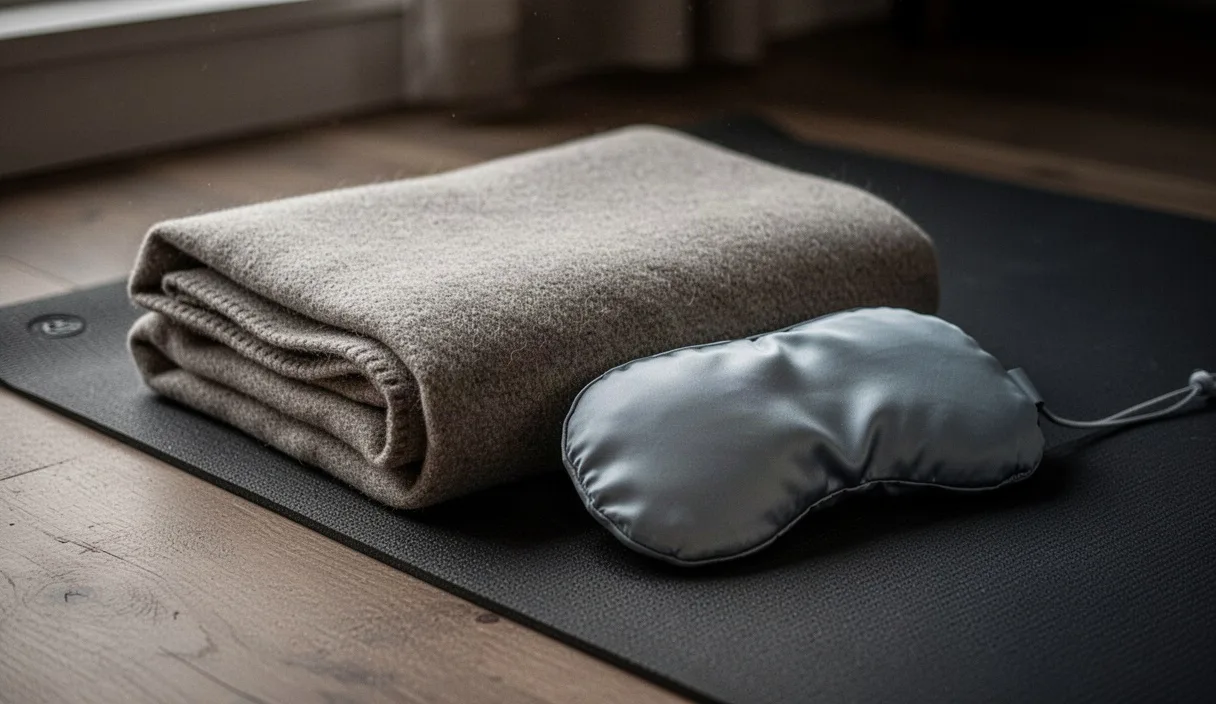
Gather one bolster and two firm blocks. Fold a wool blanket to place beneath the pelvis. The blanket raises the sit bones and tilts the pelvic bowl slightly forward. This tilt protects the sacroiliac joints.
Positioning the base
Sit on the edge of the folded blanket. Bring the soles of your feet together in front of you. Slide the feet away from the groin until the legs form a wide diamond shape. A distance of 45 to 60 centimeters between the pelvis and heels works best for most bodies.
Place one yoga block beneath each outer knee or thigh. The blocks prevent the hip capsules from hanging in open space. Adjust block heights so the inner thighs can relax completely without muscular holding.
Entering the fold
Position the bolster lengthwise across your feet or standing vertically between your shins. Rest your hands on the floor beside your calves.
- Exhale through the nose and let the belly soften.
- Hinge forward from the hip crease until you meet light tension along the outer hips or lower back.
- Lower your forehead onto the bolster or onto an additional block stacked on top of it.
- Turn your palms upward to release muscular recruitment in the shoulders and arms.
- Release the jaw and tongue.
Hold this shape for 4 minutes. Allow the spine to curve like a willow branch. If the back of the neck strains, add a folded blanket under the brow. Breathe through the nose into the posterior rib cage.
To exit, press your hands into the floor beneath your shoulders. Roll up through the vertebrae one segment at a time. The head lifts last. Keep your eyes half-closed and sit upright for 30 seconds before removing the props.
Half dragon pose with bolster support
Half dragon addresses the hip flexors, particularly the iliopsoas and rectus femoris. Hours of sleep in fetal positions keep these front-body muscles short. Opening them restores pelvic alignment for walking and standing.
Traditional low lunges demand active muscular engagement to stay balanced. A restorative morning variation relies on a firm bolster under the pelvis and hands. This support prevents the hip flexors from firing to protect balance.
Prop arrangement
Place a folded blanket across the center of your mat to cushion the back knee. Lay a bolster horizontally across the mat, just forward of the blanket. Keep two blocks nearby on their highest setting.
Entering the posture
- Begin on hands and knees with your knees on the folded blanket.
- Step the right foot forward to the outer edge of your mat.
- Angle the right toes outward at roughly 30 degrees.
- Slide the left knee backward until you feel a gentle lengthening across the front of the left hip.
- Pull the horizontal bolster under the front of your left thigh and pelvic rim.
- Lower your forearms onto blocks or directly onto the bolster.
The right knee may drift open to the right side. The sole of the right foot may lift slightly, resting on its outer edge. Let the pelvis drop its weight onto the bolster. Do not hold the hips lifted with the quadriceps.
Stay for 3 minutes on this side. Observe the sensations along the anterior hip line. Tension here can feel dense or guarded. Send smooth, unhurried breaths toward the lower abdomen. Keep the back of the neck long by gazing down at the floor.
To release, place the palms flat under the shoulders. Press into the hands to shift the hips backward. Slide the right foot back until both knees rest on the blanket in a neutral tabletop shape. Take three slow breaths before switching to the left side for an equal 3 minutes.
Reclined figure four with strap
The external rotators and piriformis muscles stabilize the hip joint. When tight, they pull the femur head firmly into the acetabulum. Reclined figure four decompresses the posterior hip pocket while keeping the spine supported against the floor.
Practicing on your back neutralizes gravity. The lumbar spine rests flat, which avoids the shearing forces sometimes felt in seated pigeon postures. A standard cotton yoga strap helps maintain the shape without neck strain.
Setting the loop
Buckle your strap into a wide loop. Lie down on your back with both knees bent and feet flat on the floor. Place a flat blanket under your skull if your chin tilts backward toward the ceiling.
Refining the shape
- Cross the right ankle over the left knee, just below the joint line.
- Flex the right foot lightly to protect the knee capsule.
- Thread the strap loop over the back of the left hamstring.
- Hold the ends of the strap with both hands, keeping your elbows resting on the ground.
- Lift the left foot from the floor until the right shin moves toward your torso.
Keep your shoulder blades heavy against the mat. If the arms pull hard, widen the strap loop. The arms simply anchor the strap; they do not haul the leg inward. Stop moving inward at the first clear sensation across the right outer glute.
Remain here for 4 minutes. Let each exhalation drain tension from the back of the pelvis. Notice any tendency to grip in the abdominal wall. Let the stomach rise and fall with the diaphragm.
To release, slowly lower the left foot back to the floor. Unhook the right ankle. Place both feet flat on the mat as wide as the mat itself. Drop both knees toward the center so they rest against each other. Pause for 45 seconds. Then repeat the posture with the left ankle crossed over the right knee for 4 minutes.
Rebound stillness and observation
The rebound is an essential element of yin yoga. When you release a sustained hold, tissues experience a temporary reactive hyperemia. Blood and interstitial fluids rush back through previously compressed areas. Connective tissue cells register this fluid exchange as a signal to lay down organized collagen.
Extend both legs straight along the mat. Let the feet fall open toward the outer edges. Place your arms alongside the torso with the palms facing upward. Close the eyes completely.
Observe the physical sensations in the hip sockets. You may notice warmth, tingling, coolness, or a sensation of spreading space. These are normal signs of vascular and fascial rehydration. Do not analyze these sensations. Simply let them arise and fade.
Remain in this rebound stillness for 5 minutes. The mind often attempts to rush into morning tasks during this phase. Acknowledge these thoughts and return attention to the weight of the sacrum resting on the ground.
Common mistakes
Morning bodies require patience. Small errors in setup can irritate joints rather than soothe them.
- Pulling beyond the edge: Yanking the body into deep ranges causes muscle spindles to contract. Work at moderate depth to allow connective tissue relaxation.
- Floating joints: Leaving knees or limbs suspended in the air creates unconscious muscular tension. Always bridge the gap between your body and the floor with props.
- Holding the breath: An irregular or suspended breath triggers sympathetic nervous arousal. Breathe through your nose at an easy, unforced rhythm.
- Rushing transitions: Moving abruptly between long holds jars cool ligaments. Move between postures as though swimming through water.
- Ignoring sharp joint pain: Sensations in the groin crease or knee joint must not be sharp. Sharp discomfort signals structural impingement rather than healthy fascial release.
Practical next steps
Roll to your right side when the rebound time ends. Press your left palm into the floor to rise to a comfortable seated position. Sit quietly for 1 minute before standing up.
Drink a glass of warm water to aid systemic hydration. The tissues have been stressed and need fluid to complete their recovery cycle. Avoid jumping immediately into heavy resistance training or deep backbends for at least 30 minutes after this sequence.
Practice this sequence two or three mornings per week to build tissue tolerance. If you manage chronic hip dysplasia, labral tears, or acute sciatica, consult a physical therapist or sports medicine physician before attempting these postures.